On a clayey ground that sticks to the shovel after three days of rain, digging a post hole quickly becomes a nightmare. The soil compacts, the spade slips, and every centimeter gained in depth costs a disproportionate effort. Before choosing a tool or method, it’s essential to understand what makes digging difficult, as the solution depends less on the equipment than on the nature of the soil and the desired depth.
Clay, rocky, or sandy soil: adapting the method to the terrain
You don’t dig the same way in loose sand as you do in compact clay. In sandy soil, a simple spade is often enough to reach the necessary depth. The problem is that the hole collapses on itself: you widen more than you go down.
In very clayey soil, the constraint is the opposite. The earth holds in blocks but resists sinking. Professionals recommend digging to a minimum of 50-60 cm, with a diameter of 30 to 40 cm, and especially laying down 10 to 15 cm of draining gravel (20/40 grade) at the bottom of the hole before pouring the concrete.
Without this drainage, water stagnates under the post, and the shrink-swell cycles of the clay eventually cause the fence to move in a few seasons.
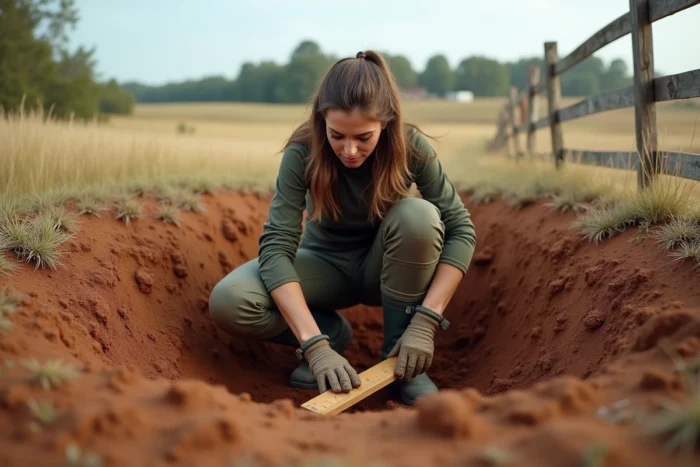
For rocky terrain, the pry bar becomes the ally for every centimeter gained. You break the exposed rock, clear the shards with a shovel, and continue. The work is slow, but no auger will pass through a bed of stones without breaking or getting stuck.
When planning to dig a hole for a fence post in this type of soil, it’s better to probe beforehand with the pry bar to identify obstacles before bringing out the auger.
Gas or manual auger: which tool to dig a post hole
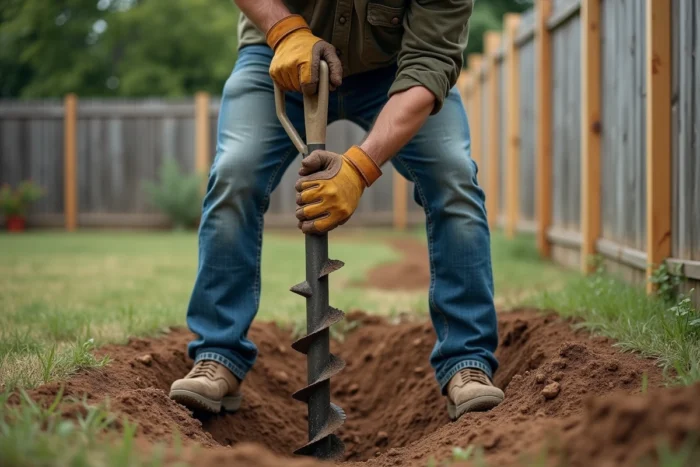
The manual auger (two-handled model with a helical bit) is suitable for about ten holes in loose to moderately compact soil. Beyond that, fatigue accumulates and the quality of the holes deteriorates: irregular diameter, poorly leveled bottom, insufficient depth on the last posts.
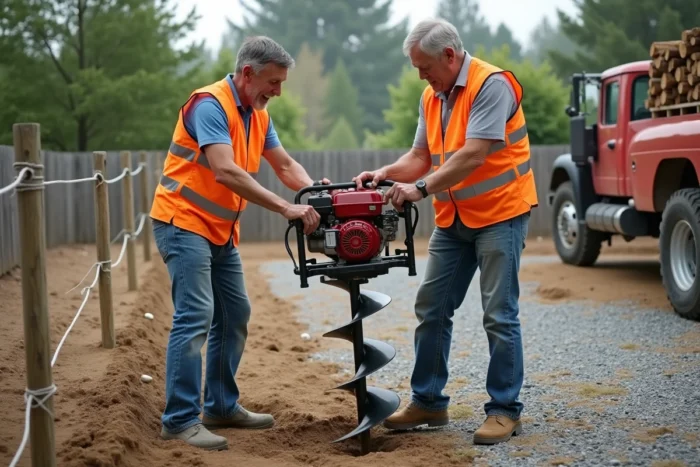
The gas auger remains the fastest tool for digging in series. A gas model with a bit suited to the diameter of the posts allows you to drill a hole in just a few tens of seconds in decent soil. Two points to watch:
- The motor torque must be sufficient for the type of soil. In hard clay or soil mixed with roots, an undersized motor stalls, and the operator absorbs the backlash in their arms.
- The diameter of the bit is chosen based on the post and the type of setting. For a concrete setting, a hole significantly wider than the post is planned to leave a sufficient thickness of concrete all around.
- Work is done with two people on powerful models. Holding a gas auger alone that catches on a root poses a risk of wrist or shoulder twisting.
For a project of fewer than five holes, renting a gas auger for the day is cheaper than buying one. Beyond ten holes, investing in an entry-level model starts to make sense.
Concrete setting or screw piles: two approaches to secure fence posts
The classic concrete setting remains the reference method for rigid fences and solid wood posts. Concrete is poured around the post in the hole, forming a slight dome on the surface to drain water away from the base. This detail is often overlooked: a flat or bowl-shaped setting retains moisture and accelerates wood rot or metal corrosion.
In recent years, adjustable steel screw piles have been gaining ground on lightweight fence projects (soft mesh, low decorative panels). The principle: a helical pile is screwed directly into the ground using a lever bar or an adapter on a drill, and the post is fixed to the top plate. No hole to dig, no concrete to prepare, no drying time.
This solution has its limits. In very loose or very rocky soil, the pile does not grip enough or does not penetrate at all. For a tall fence exposed to wind, the lateral resistance of a screw pile remains lower than that of a deep concrete setting. Feedback varies on this point depending on the type of soil and the height of the fence, but for a low and sheltered installation, the time savings are real.
Common mistakes that weaken fence posts
Some mistakes consistently occur on fence projects, even among experienced DIYers.
Digging too shallow is the most common. The basic rule (one-third of the post buried) provides a guideline, but in swelling clay soil or strong wind exposure, digging deeper protects long-term stability.
Neglecting drainage at the bottom of the hole is the second mistake. Without a gravel bed under the concrete, trapped water creates a permanent moisture pocket. In clay soil, this moisture amplifies the movements of the ground around the post.
Finally, not aligning the holes with a string line before digging creates visible offsets once the panels are installed. A string line is stretched between the corner stakes, each point is marked on the ground with spray paint or stakes, and digging only occurs after checking the spacing. Fixing a misaligned hole takes more time than properly marking everything from the start.
The choice of digging method depends on the number of posts, the nature of the soil, and the type of fence. On a small project in easy terrain, a manual auger and careful concrete setting are more than sufficient. On a longer run or difficult soil, a gas auger and appropriate drainage make the difference between a fence that lasts ten years and one that leans after two winters.