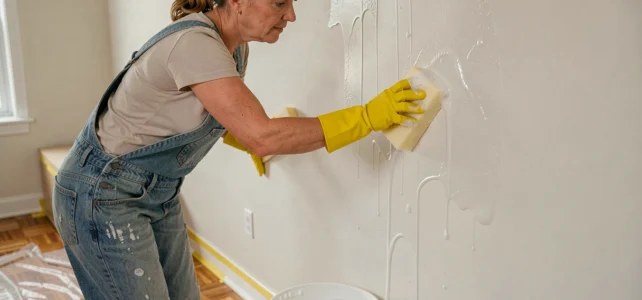
A wall that appears clean to the naked eye may carry an invisible layer of grease, nicotine, or ingrained dust. These residues prevent the new paint from adhering properly to the surface, causing blisters and peeling sometimes within the first few weeks. Washing a wall before painting remains the only reliable method to ensure lasting adhesion, provided you master the technique and dosage.
Surface diagnosis before washing: the step that most guides overlook
Recent technical guides emphasize a point often missing from consumer tutorials: before dipping any sponge, you must examine the wall. A methodical visual diagnosis allows you to identify weak areas, cracks, blisters, or peeling old paint.
Run your flat hand over the entire surface. If powder remains on your fingers, the existing paint is powdery. A standard wash on such a surface will only worsen the degradation. You will need to scrape, fill, and sand before considering wet cleaning.
To test the adhesion of the old layer, stick a wide piece of tape on the wall, press firmly, then pull it off quickly. If paint fragments come off with the tape, the surface is not suitable for a simple wash. Mechanical preparation is required beforehand.
This preliminary diagnosis prevents wasting time and water on a wall that actually needs a heavier treatment. Knowing how to wash a wall without streaks before painting starts with this assessment of the surface, not with the choice of product.
Washing walls before painting: hot water, dosage, and appropriate technique
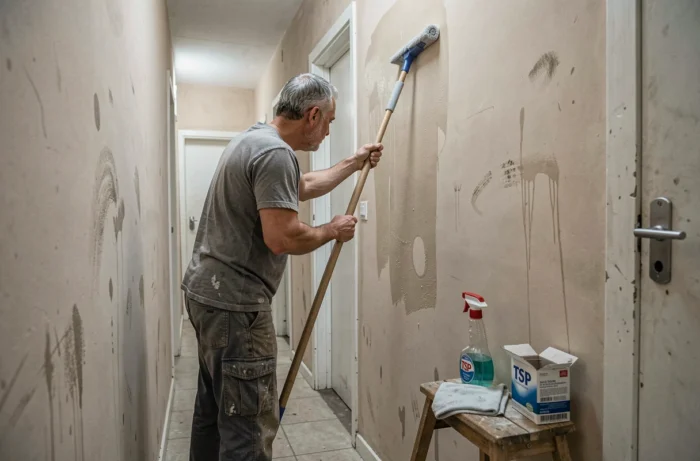
The product matters less than the technique. Saint-Marc detergent, diluted soda crystals, or liquid black soap all serve the same function: degreasing the surface and removing residues. The difference in results hinges on three specific parameters.
Water temperature and product concentration
Warm to hot water dissolves grease better than cold water. However, water that is too hot speeds up evaporation and leaves product marks on the wall before you even have time to rinse. Aim for a comfortable temperature to the touch, without excess.
Overdosage is the most common mistake. Too much product creates a soapy film that rinsing cannot remove. Follow the manufacturer’s instructions. If in doubt, start with a lower dose and only increase if stains persist.
The technique that prevents drips
Always work from the bottom up. This advice may surprise you, as instinct pushes you to start from the top so that dirty water runs down. In reality, soapy water drips on a dry wall create marks that are difficult to fix. On a wall already dampened by the sponge, the drips blend into the wet surface.
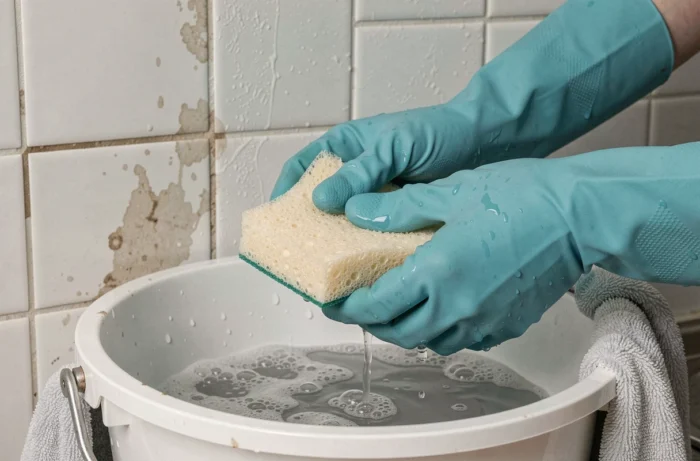
- Wring the sponge enough so that it is damp without dripping. Excess water causes uncontrollable run-offs, especially on smooth surfaces.
- Work in sections of about one square meter, slightly overlapping each area to avoid visible demarcations after drying.
- Use a two-sided sponge: the soft side for regular washing, the abrasive side only on localized stains (kitchen grease, stubborn fingerprints).
Rinsing and drying: where marks actually form
The majority of visible marks after washing do not come from the cleaning itself, but from insufficient rinsing. The residual product film dries, leaving dull halos that become particularly visible under satin or glossy paint.
Rinse each section with clear water using a clean sponge, changing the rinse water regularly. If the water becomes cloudy, it redeposits residues on the wall instead of removing them. Two rinsing passes are better than a single quick pass.
Drying requires patience. A washed wall needs at least a full day to dry before applying a primer or paint. Painting on a still damp wall compromises adhesion just as much as on an unwashed wall. Ventilate the room by opening windows, but avoid directing a blowing heater at the wall: too rapid and uneven drying can create tension areas in the old paint layer.
Lead paint and old homes: a health risk during washing
In buildings constructed before 1949, walls may have layers of paint containing lead. The ARS Auvergne-Rhône-Alpes recommends limiting preparation work in these homes to the strict minimum to reduce the dispersion of contaminated dust.
Washing remains permitted and even recommended in this context, as it does not generate fine dust unlike sanding. However, dry sanding and the use of electric sanders should be avoided on old paints that may contain lead.
After washing a wall in an old home, applying a primer layer helps block the substrates and encapsulate any potential lead residues. This precaution protects occupants in the long term, well beyond the simple issue of paint adhesion.
Microfiber or traditional sponge: which textile for which wall
The choice of textile directly influences the quality of the result. A microfiber cloth captures and retains dirt in its fibers instead of spreading it, making it more effective on smooth walls (acrylic paint, satin paint). On a textured surface or rough plaster, its fibers cling to the roughness and degrade quickly.
The sponge remains the best tool for textured surfaces: it conforms to the reliefs and rinses easily. For smooth washable paint walls, a damp microfiber yields a cleaner result with less product.
- Smooth wall in acrylic or oil-based paint: damp microfiber, thoroughly wrung out, with minimal product.
- Textured wall (roughcast, sprayed plaster): soft sponge with large cells, which does not leave bits in the recesses of the texture.
- Ceiling: sponge attached to a telescopic mop to maintain consistent pressure without fatigue, always working in parallel strips.
One last point deserves attention: contact time. Rubbing for a long time in the same spot does not improve the result. Short and repeated passes after a brief product application are more effective than mechanical scrubbing, which risks digging into the existing paint layer.